How to Install and Configure Windows Server 2012 iSCSI Target SAN
Explain steps to build an iSCSI SAN using only Windows Server 2012. If you do not already know, instead of a separate download and install for the iSCSI target software in Windows Server 2008 R2, this feature comes build into the latest build of Windows.
First up, now all you need is a plain vanilla installation of Windows Server 2012. It does not need to be part of a domain and that’s how it’s gonna be for me in this posting.
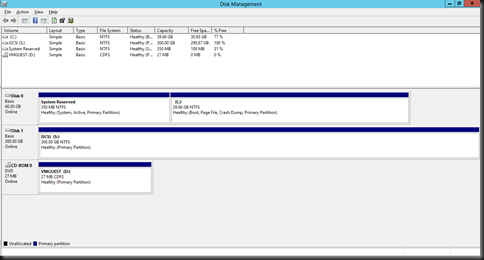
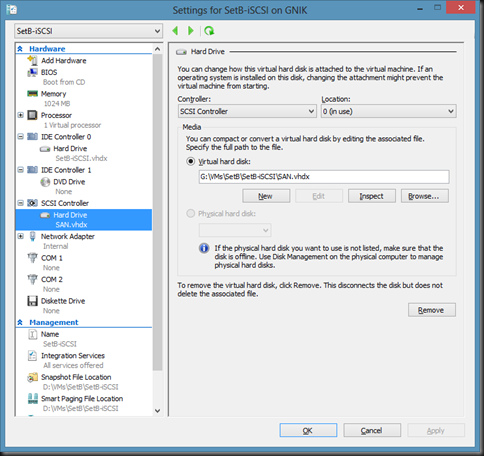
Ensure that you have enough disk space on your VM, so in my case I’ve got another drive just for my iSCSI.
Here’s how my VM configuration looks like.
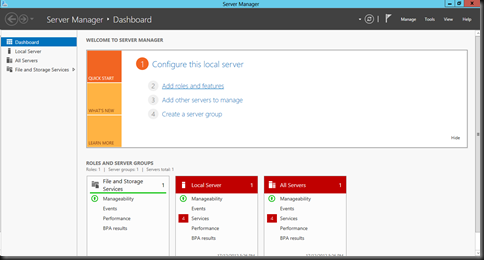
Once you’ve set a static IP address – best practices , in Server Manager, click Add Roles and Features.
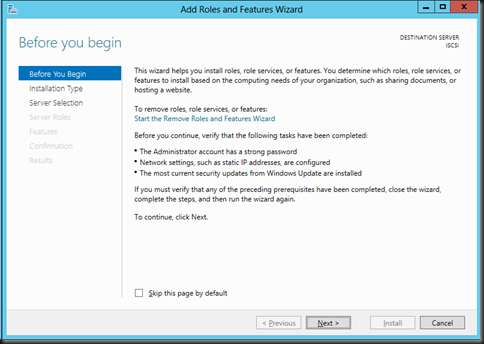
Click Next on the Add Roles and Features Wizard
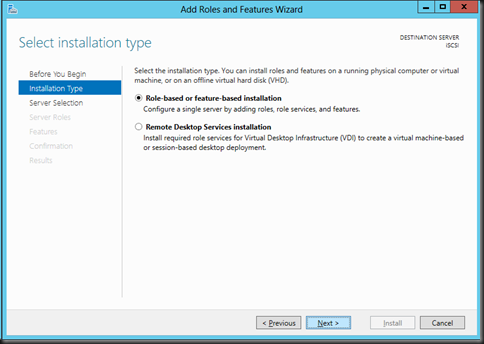
Select Role-based or feature-based installation and then click Next.
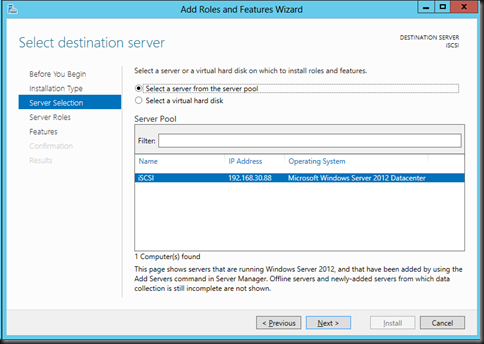
Just ensure that you’ve got the right server listed there, then click Next.
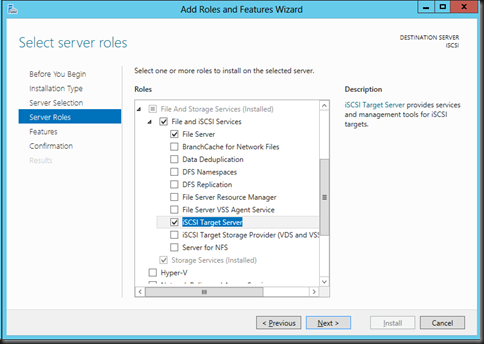
Expand File And Storage Services > File and iSCSI Services, then click to select iSCSI Target Server, then click Next.
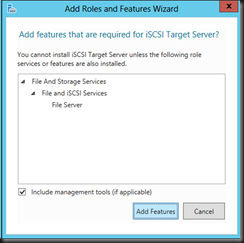
If a windows appears, click Add Features.
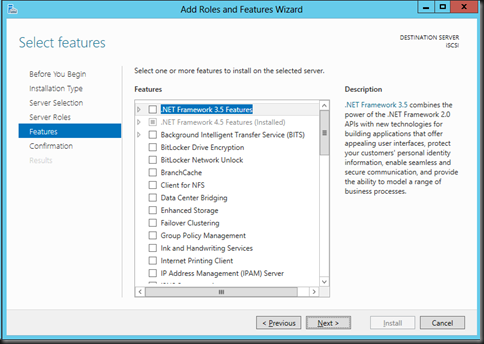
No features to install here, so just click Next.
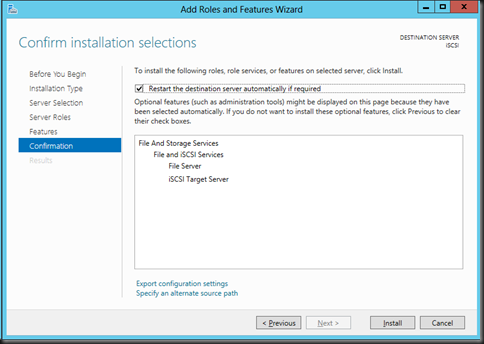
Click to select Restart the destination server automatically if required and then click Install.
If a window appears, click Yes.
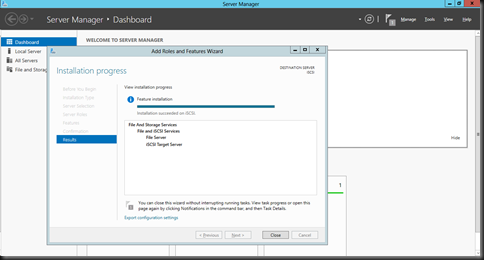
Be patient and you’ll see that the role is installed successfully.
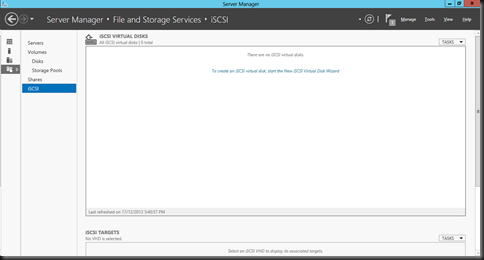
Next, to configure it go to Server Manager > File and Storage Services > iSCSI. Click on To create an iSCSI virtual disk, start the New iSCSI Virtual Disk Wizard.
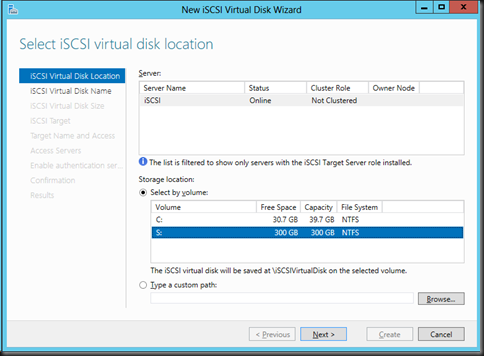
Select where you would like to create the virtual disk then click Next. For me, I’ve chosen to place it in the S: drive.
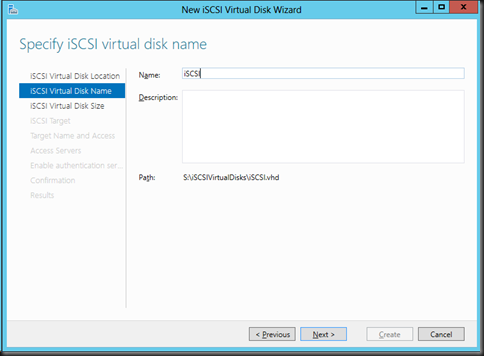
Give it a name.
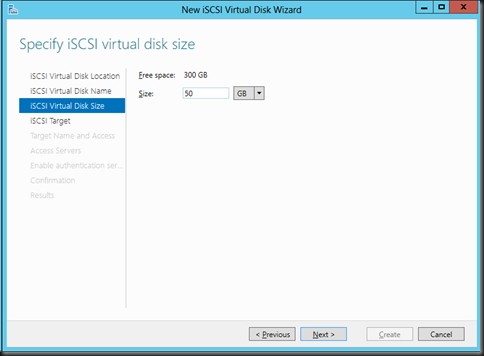
I’m just gonna give a 50GB but that’s up to you.
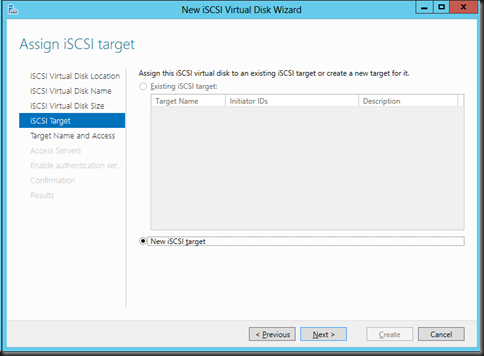
I’m creating a new iSCSI target, click Next.
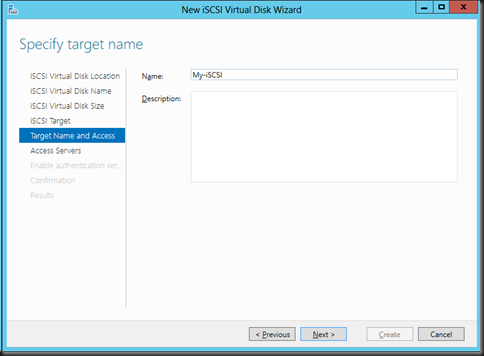
Provide a name for your target then click Next.
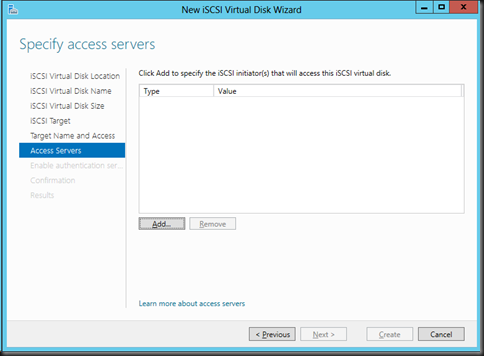
Click Add to add the servers that will be connecting to your iSCSI SAN.
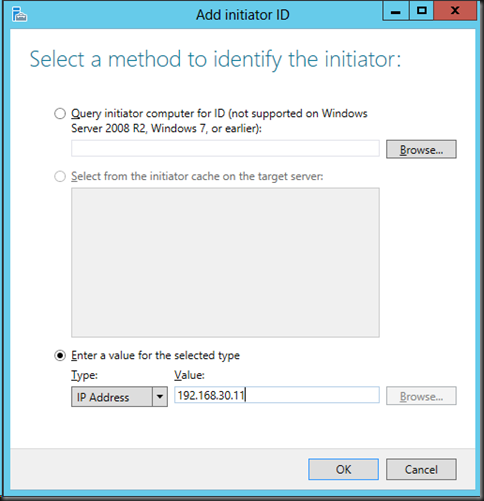
Since I know the server that is gonna connect to my SAN, I’m just gonna add it here.
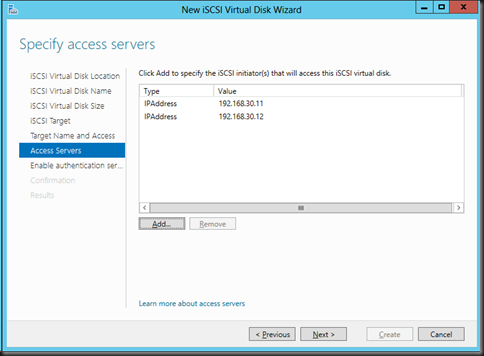
So now I’ve got 2 servers ready to connect to my SAN.
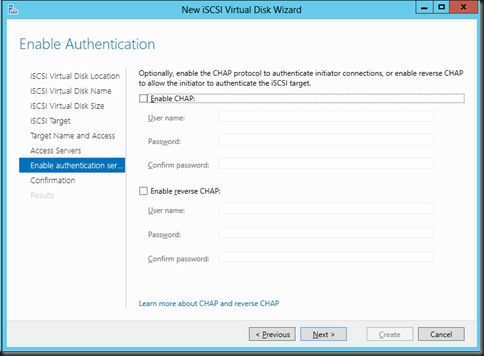
Use the defaults and then proceed.
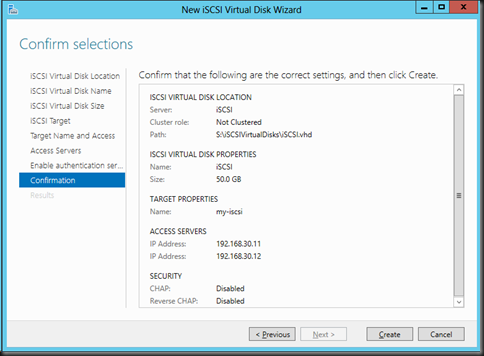
Confirmation..click Create.
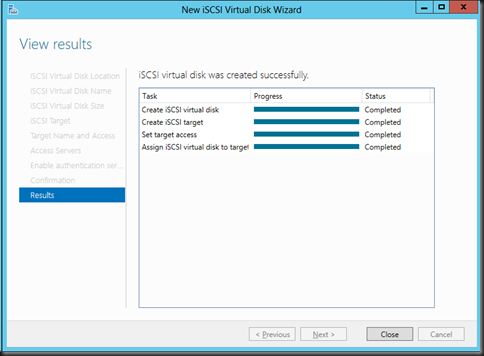
And it is done!
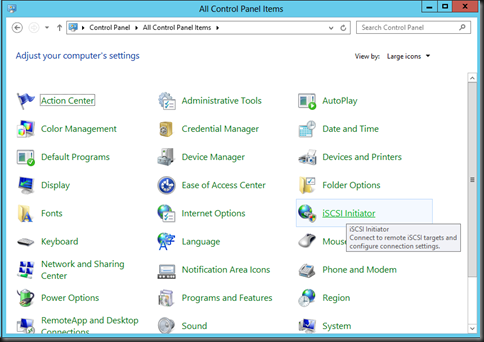
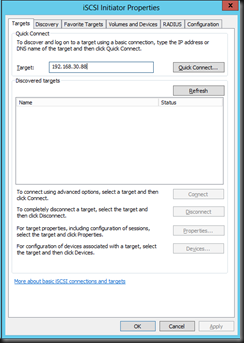
Now, that’s ready for the 2 server to connect to it. So on the servers, go to Control Panel > iSCSI Initiator.
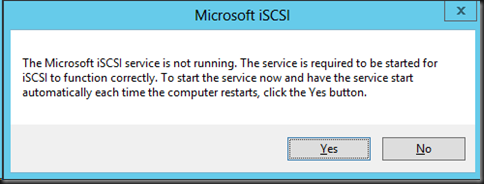
Click Yes to start the iSCSI service.
Enter the IP address of your iSCSI SAN which you’ve just configured, then click Quick Connect…
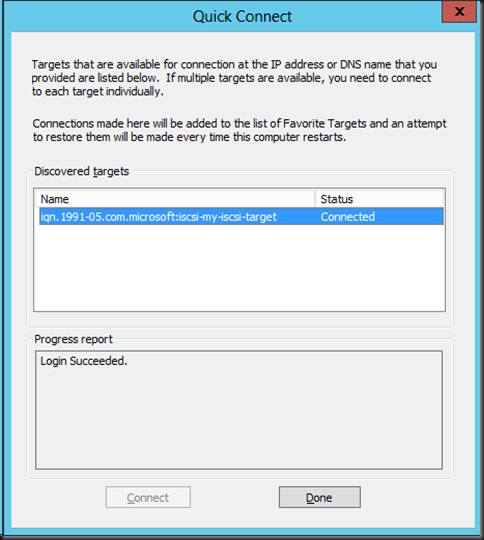
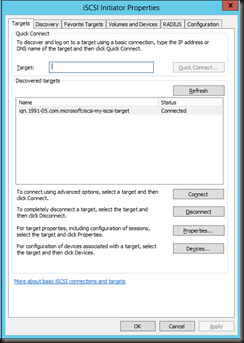
It will show connected.
Now you’re connected to the SAN.
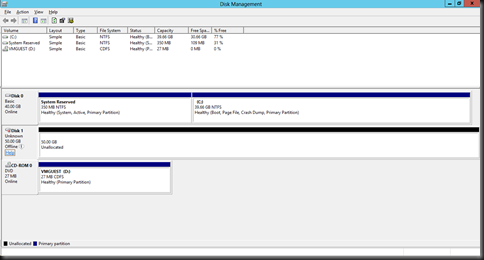
Going to your Disk Management indeed shows you’ve now got a new drive.

No comments:
Post a Comment